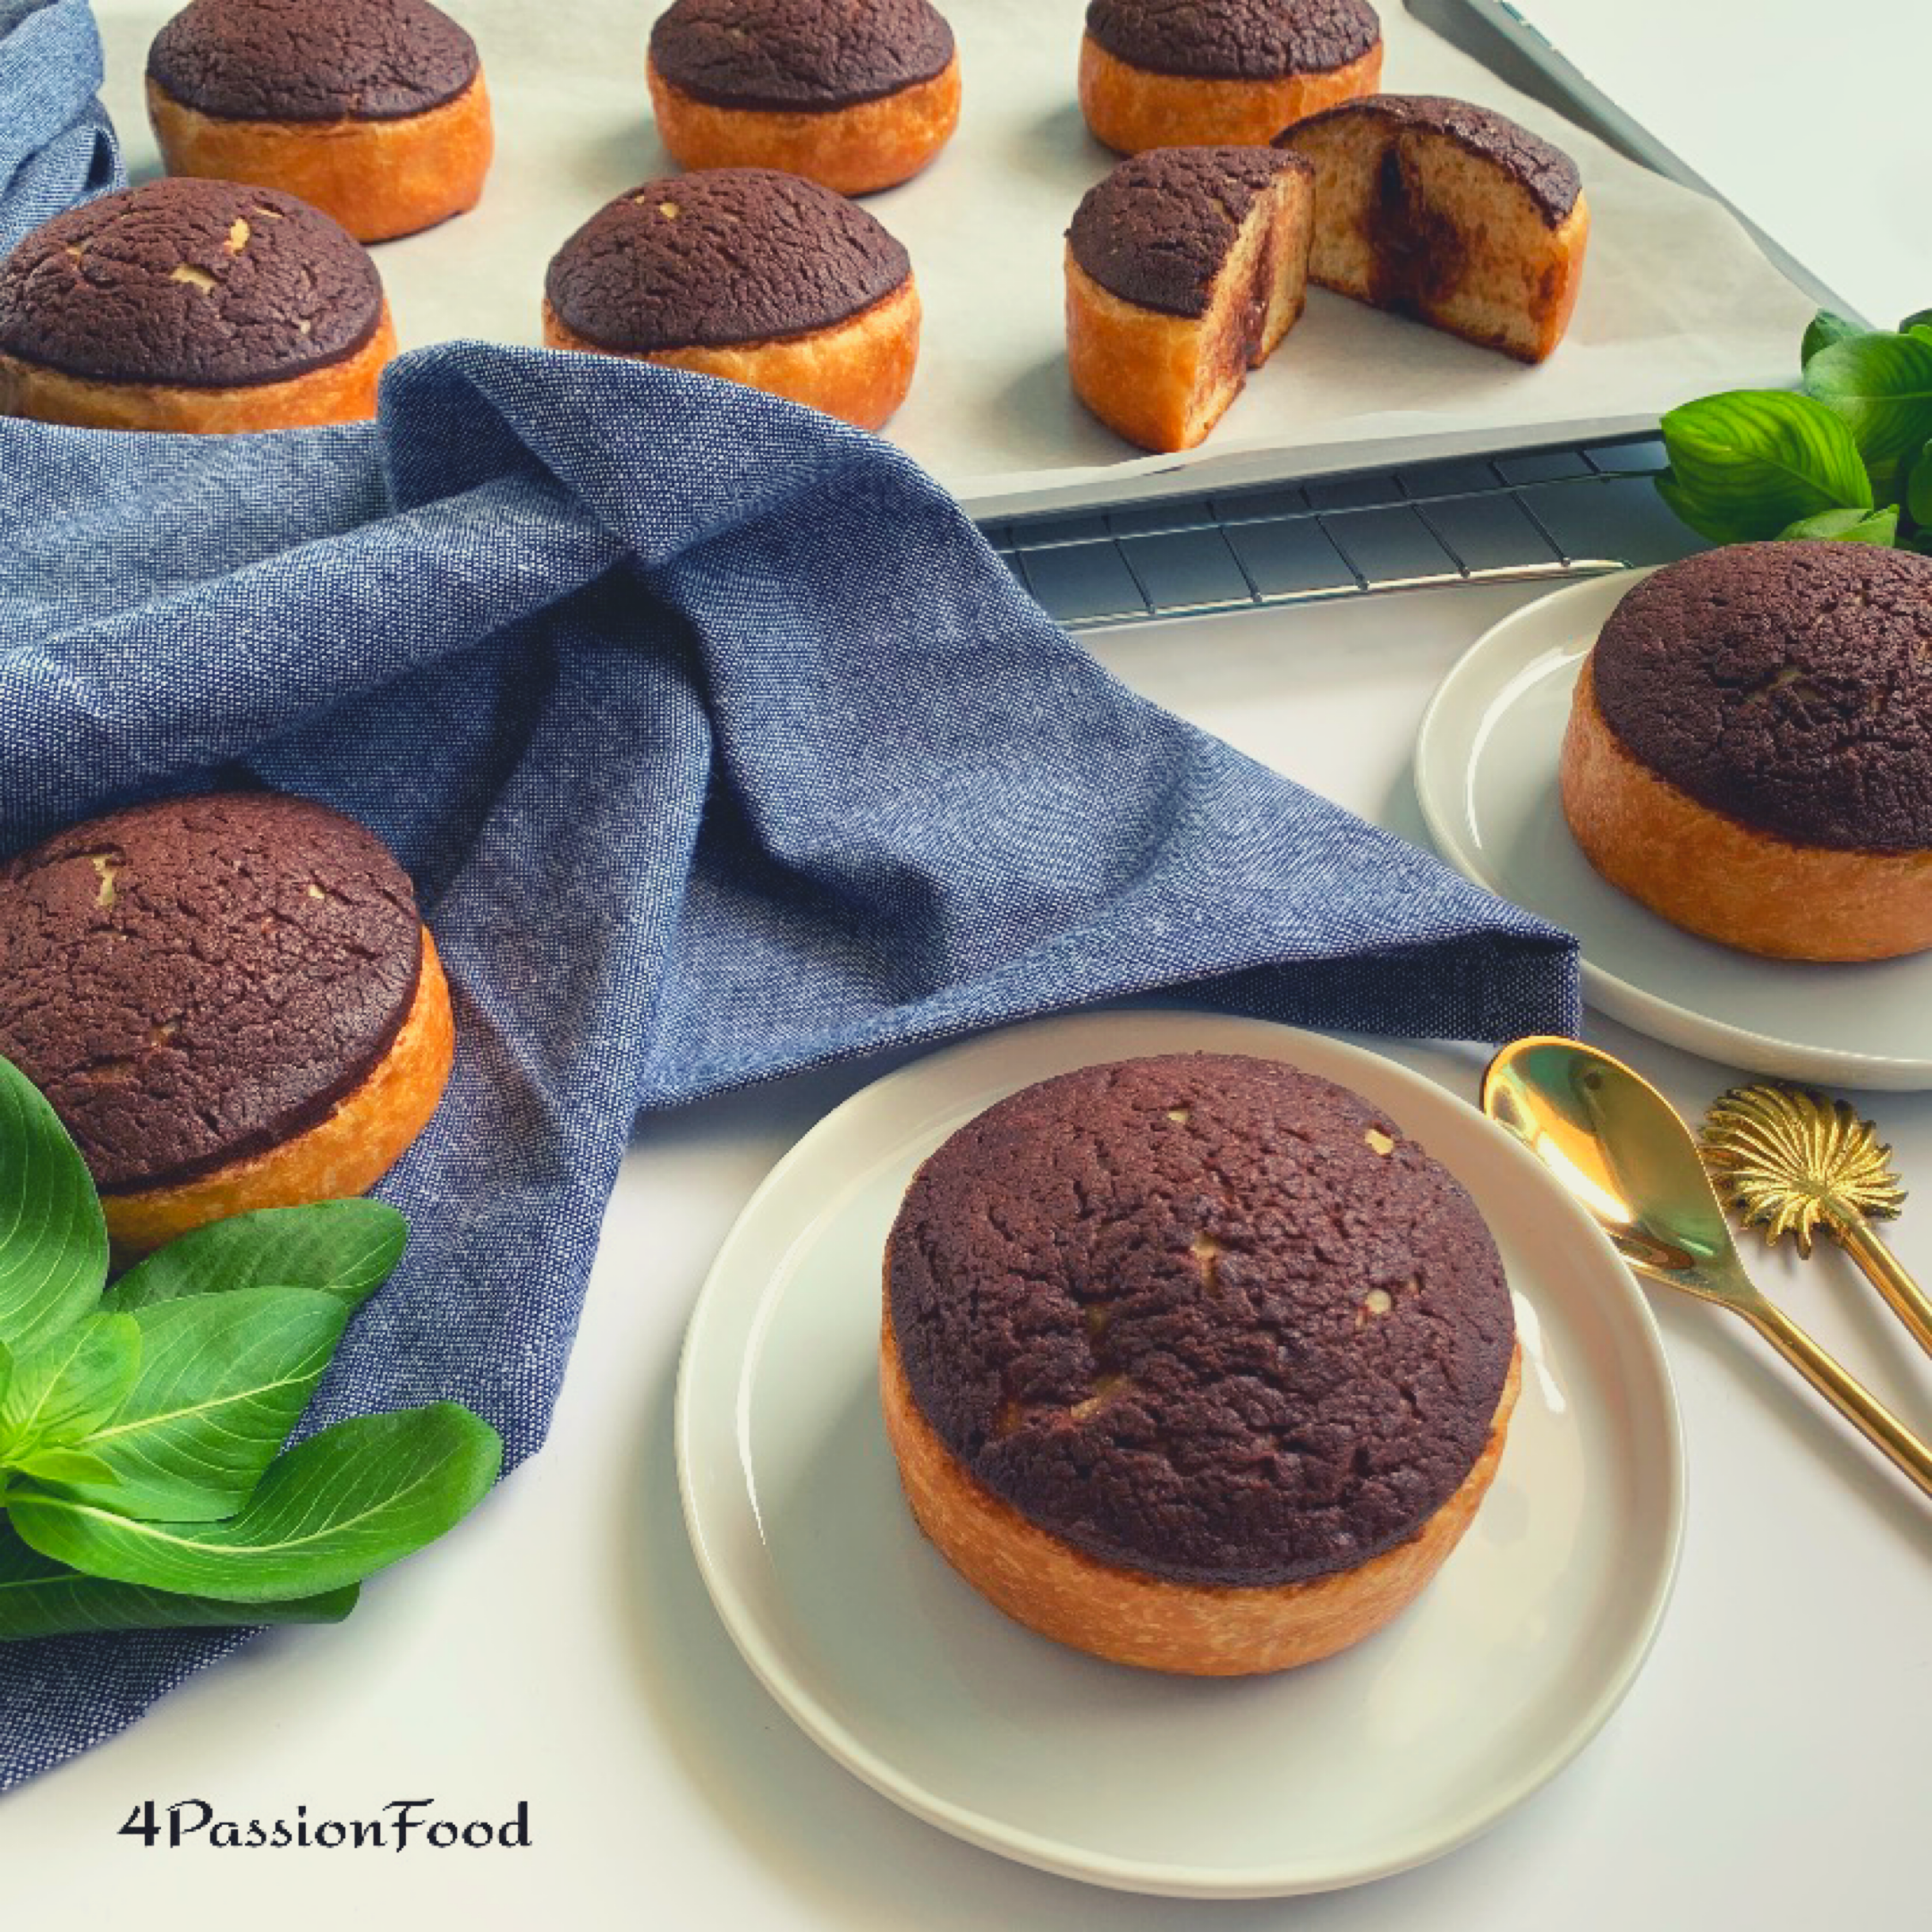
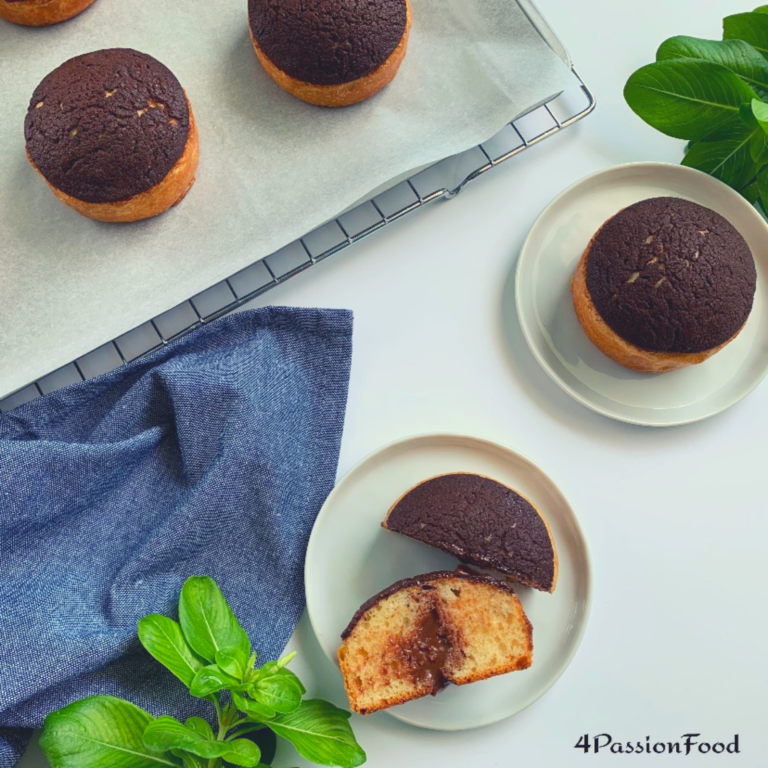
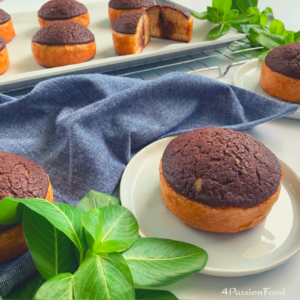
I have to admit that I didn’t get this recipe right the first time around 🤫. It was only on the third try that I was able to get this result (especially aesthetically speaking).
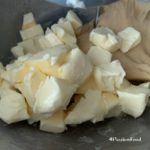
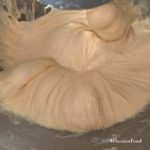
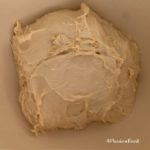
First time around I followed the recipe exactly, it was impossible for me to form balls right after proofing time at room temperature. So The second time, I put 200 grams of butter instead of 225. I let my dough rise at room temperature, then I placed it overnight in the refrigerator before shaping the balls, then let them rest and rise before baking, result: in the oven they have grown horizontally 😅. In this case, either I let my dough proof more than necessary or the shortbread was a little thick and the dough didn’t rise properly during baking.
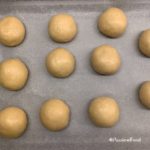
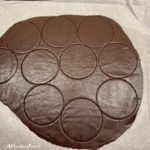
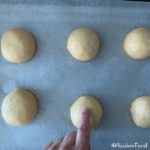
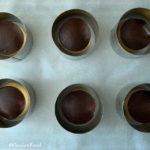
So on the third and fortunately the last try, I further decrease the amount of butter from 225 to 190 grams, I managed to shape my balls before placing them in the fridge overnight. Instead of 10 balls of almost 70 grams I make 11 of 61 grams and use baking rings that I remove halfway through baking. And finally I roll out the Cocoa shortbread dough very thinly (1mm or even thinner). And finally I brush my balls with the egg wash but I leave 1 cm in diameter at the top of each brioche so that the cocoa shortbread doesn’t slip like the other times.
Put the cocoa shortbread in the freezer during the last proofing time of the brioches, before placing them on top of the buns and baking.
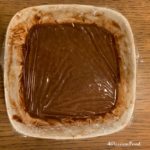
Remember to take out the chocolate – gianduja spread from the fridge during the baking time to be able to garnish the brioches with it.
You will find HERE all the advices to make your brioche. You will find the gianduja recipe HERE